Correcting students’ writing can be time-consuming and exhausting, especially if you teach large classes or work with learners who make frequent grammar and vocabulary mistakes.
Traditional correction methods like rewriting sentences or pointing out every error in detail can discourage students and take away from valuable teaching time.
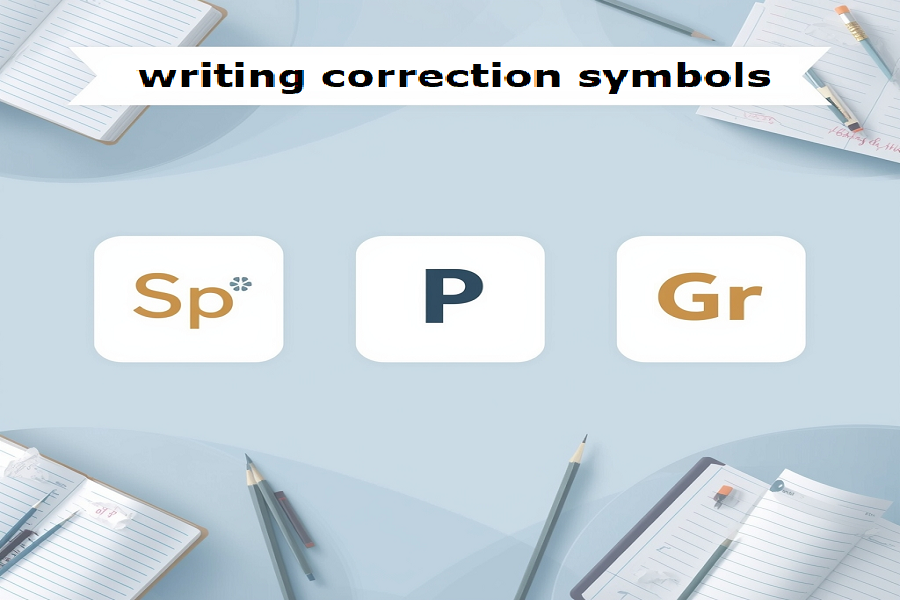
Instead, many teachers around the world are turning to writing correction symbols as a simple, clear, and efficient feedback technique. These symbols offer a universal, professional way to mark students’ errors without writing long explanations. Students learn to understand the symbols over time and become more independent in the correction process, which boosts their accuracy and confidence.
In this article, we’ll explore the 10 most useful writing correction symbols that every English teacher should have in their toolkit. Whether you’re an ESL teacher in South Korea, an EFL trainer in Egypt, or a private tutor online, these symbols will help you correct writing more effectively and encourage student autonomy.
Why Use Writing Correction Symbols?
Before we dive into the top symbols, it’s important to understand why writing correction symbols are so effective, especially for non-native teachers and learners:
Save Time and Energy
Instead of rewriting or explaining every error, you can use a simple symbol — like “Sp” for spelling mistakes or “WW” for wrong words. This dramatically reduces marking time and keeps feedback focused.
Encourage Student Self-Correction
With a bit of training, students can identify and fix their own errors based on these symbols. This develops critical thinking, metacognitive awareness, and writing independence.
Promote Consistency and Clarity
Once you and your students agree on a set of writing correction symbols, they become a shared language of feedback. No more confusion or mixed messages about what went wrong.
Improve Writing Accuracy Over Time
Using the same correction symbols regularly helps students internalize common error types and avoid repeating them in future writing tasks.
The 10 Most Useful Writing Correction Symbols
Here are the ten most important symbols you can start using today to improve writing correction in your classroom:
1. Sp – Spelling Error
Example: He recieved a gift.
Spelling errors are very common, especially for English learners. Marking them with “Sp” encourages students to look up the correct spelling themselves.
2. P – Punctuation Error
Example: Do you like coffee*.* > P
Missing commas, periods, or question marks can change the meaning or clarity of writing. Use “P” to point these out.
3. Gr – Grammar Error
Example: He go to school every day.
The “Gr” symbol is useful for general grammar mistakes, like verb tense, subject-verb agreement, and articles.
4. T – Wrong Tense
Example: Yesterday I go to the mall.
When students misuse verb tenses, use “T” to encourage the correct use of past, present, or future forms.
5. WW – Wrong Word
Example: I did a mistake. > “made” is correct
Sometimes students choose the wrong word, especially when translating from their native language. “WW” quickly signals this.
6. WO – Word Order
Example: I like very much this movie.
English has strict word order, unlike many other languages. Use “WO” to mark misplaced words in sentences.
7. V – Vocabulary
Example: The weather is delicious today.
Students may know a word but use it in the wrong context. “V” signals inappropriate or incorrect vocabulary usage.
8. ? – Meaning Unclear
Example: The food was cook it fastly waiter.
If a sentence is unclear or does not make sense, use “?” to encourage rewriting for clarity.
9. ^ – Something Missing
Example: I want go home. > to is missing
Using “^” above the blank spot helps students notice missing words.
10. // – New Paragraph Needed
Example: After completing one idea, students often forget to break it into paragraphs. Mark “//” at the point where a break is needed.
Example of a Marked Paragraph Using Symbols
Here’s a short student paragraph corrected using these writing correction symbols:
Last week I go (T) to the market with my mother She buyed (Sp) many thing (V). I carry the bags and it was heavy (WW) I feel tired very.
After correction using the symbols, the student can revise the paragraph independently.
How to Teach Writing Correction Symbols to Students
To make writing correction symbols work well, introduce them clearly and practice regularly. Here’s a simple, effective approach:
Step 1: Introduce the Symbols
Create a handout or poster with the symbols and their meanings. Display it in class or share it digitally.
Step 2: Model the Use
Correct a sample paragraph in front of your students. Explain how each symbol points to a type of mistake.
Step 3: Let Students Try
Give a short writing task and let students correct each other’s work using the symbols.
Step 4: Encourage Self-Correction
Over time, ask students to find and fix errors before submitting their final drafts.
Using writing correction symbols is not just a technique — it’s a mindset that helps students move from passive recipients of correction to active participants in their learning journey.
How Writing Correction Symbols Improve Student Outcomes
Proper use of writing correction symbols helps students:
- Increase their awareness of frequent errors.
- Take ownership of their writing.
- Improve accuracy and fluency.
- Build lifelong editing and proofreading habits.
For teachers, it creates more efficient marking, clearer communication, and greater consistency in feedback.
Final Thoughts
Correcting students’ writing doesn’t have to be a time-consuming or overwhelming task. By using a simple system of writing correction symbols, you can give faster, clearer, and more effective feedback that empowers students to take charge of their learning.
Whether you work in a bilingual school in the UAE or teach English online to business executives in Brazil, these symbols will help you streamline the marking process and boost your students’ writing skills.
Try them out in your next lesson and watch the transformation!
Teaching the Writing Process to ESL/EFL Learners.
Numerous teachers have asked me for materials to help them better approach their students’ writing. That’s why I have written this practical eBook.
In this eBook, teachers can find lesson plans, activities, tips, and ideas to apply in the classroom to improve and enhance their students’ writing skills.
This guide leads the teachers through the five-stage process of writing by providing them with the steps to focus on in each stage.
It took me long nights and weekends to create this information product, only for teachers who struggle with teaching writing in the classroom.
I worked hard to create something practical, aiming to bridge the gap between theory and application. It was a rewarding experience when I successfully achieved this goal by developing step-by-step procedures, examples, and ready-to-use lesson plans for teachers to follow while teaching the writing process in the classroom.
If you’ve been feeling a bit stuck in teaching writing in the classroom and are wondering what the solution is, this eBook is for you.
This eBook is designed for all teachers, whether they are new to teaching writing classes or have some experience in the classroom.
Even if you have struggled with teaching writing, this eBook will help you!
Get it now from here